
How to Photograph the Milky Way: Complete Planning Guide for 2027
Milky Way galaxy requires far more than a camera and tripod. It demands precise planning, technical knowledge, ideal locations, and perfect timing.
By photo tours peru
10/19/20267 min read
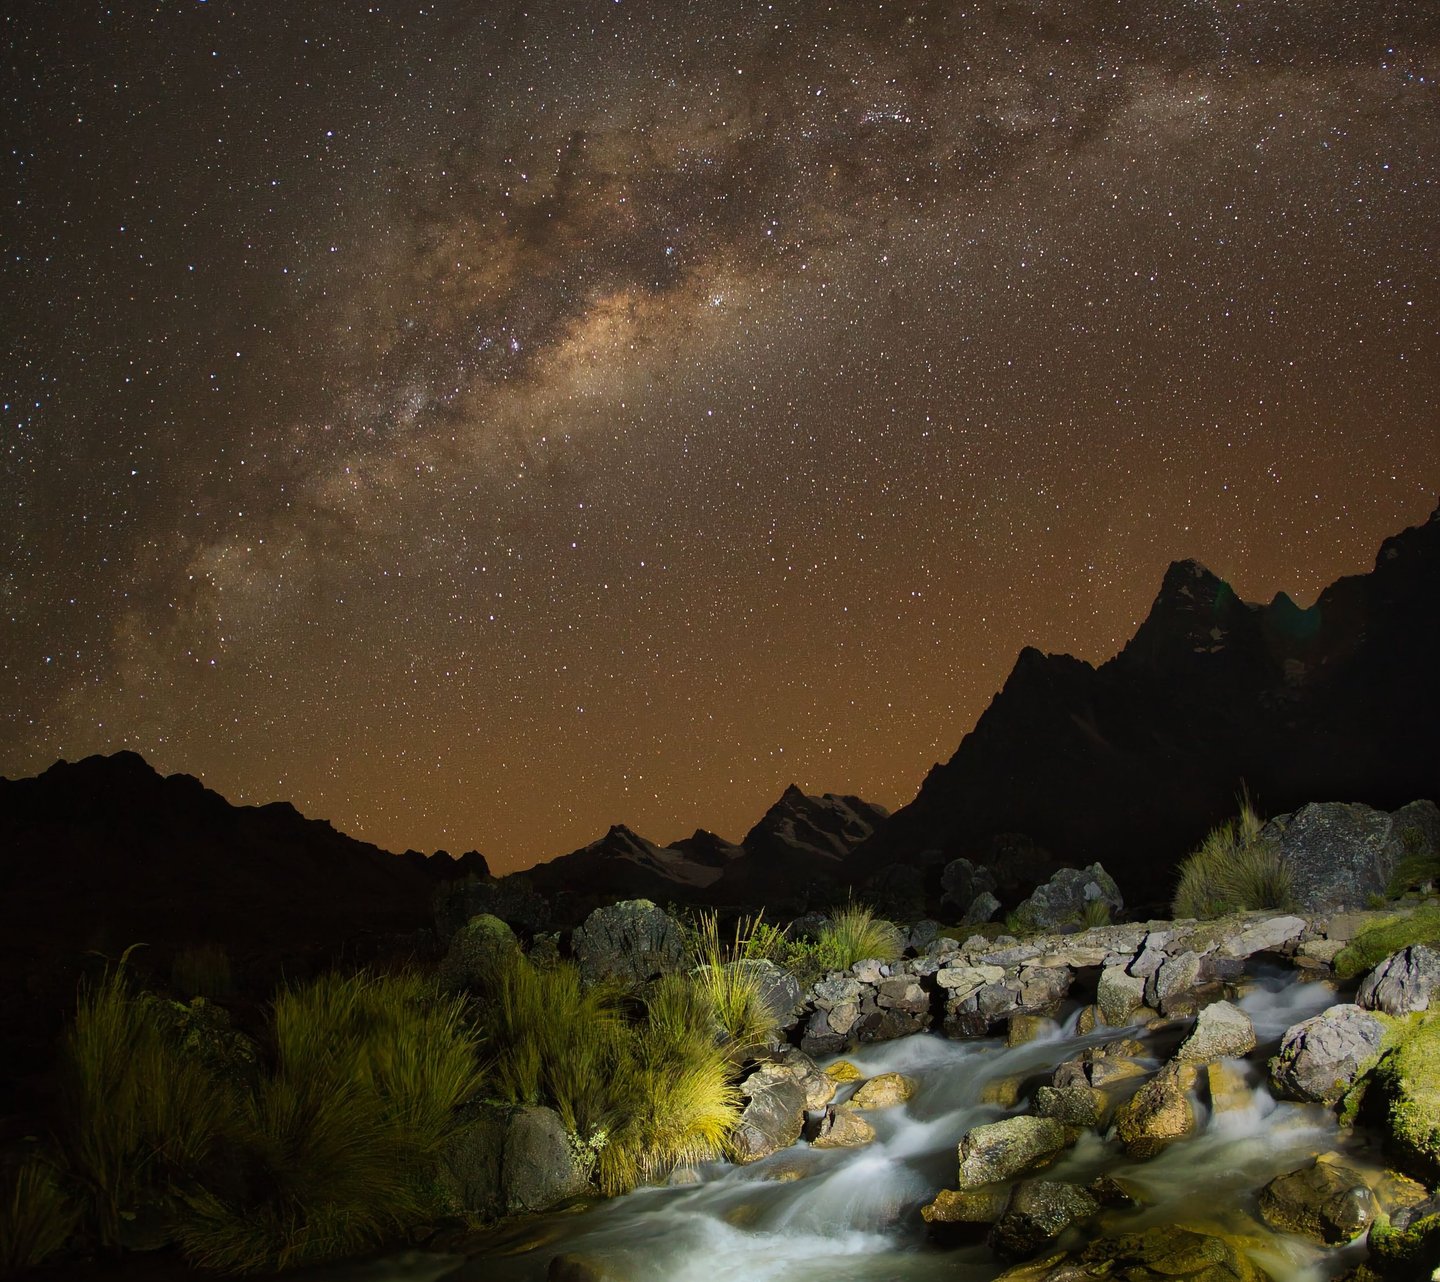
How to Photograph the Milky Way: Complete Planning Guide for 2027
A Professional Astrophotography Guide by Photo Tours Peru
How to Photograph the Milky Way: A Complete Astrophotography Guide
Photographing the Milky Way combines technical camera skills, careful planning and thoughtful landscape composition. The right camera settings help, but successful night-sky photography also depends on the position of the galactic core, moonlight, cloud cover, light pollution and the foreground you choose.
In this guide, Photo Tours Peru explains how to plan a Milky Way photography session, select suitable equipment, focus on the stars, choose starting camera settings and compose a nightscape. You will also learn what to consider when planning an astrophotography trip in the Peruvian Andes.
1. When Is the Best Time to Photograph the Milky Way?
The best time depends on your location, the season, the direction of the galactic center and the hours of darkness. In the Southern Hemisphere, the Milky Way's bright central region is generally observable during much of the period from late summer into spring, but its position and visibility change throughout the year.
Before choosing a date, check:
Galactic-center visibility: Confirm when the core rises and sets at your exact location.
Moon phase: A bright Moon can wash out faint stars and reduce contrast.
Moonrise and moonset: A night with a visible Moon may still offer a dark window.
Astronomical darkness: Plan around the end of evening twilight and the beginning of morning twilight.
Weather: Cloud cover, humidity, wind and local mountain weather can affect the session.
Use an astronomy or photography-planning app to check the Milky Way's position, moon illumination and the direction of the scene you want to photograph. Do not rely on a calendar month alone; plan for the specific date, location and composition.
2. Choose a Dark-Sky Location
Light pollution reduces the contrast between the Milky Way and the night sky. Whenever possible, select a location away from towns, streetlights, vehicles and brightly illuminated buildings.
For nightscape photography in Peru, potential locations include remote parts of the Andes and selected high-altitude landscapes around Cusco. Ausangate, Rainbow Mountain and Huayhuash offer dramatic mountain scenery, while the wider South American region includes destinations such as the Atacama Desert and Bolivia's Salar de Uyuni.
A location's suitability depends on access, weather, safety, altitude, local regulations and the intended composition. High altitude does not automatically guarantee a clear sky, and no destination can guarantee a visible Milky Way on a particular night.
Before traveling, research light pollution, check the forecast, identify safe parking or walking routes, and scout the foreground during daylight whenever possible.
3. What Camera and Lens Do You Need?
A camera that allows manual exposure and records RAW files is a useful starting point. Full-frame cameras can offer advantages in high-ISO image quality, but many APS-C and Micro Four Thirds cameras are capable of producing strong nightscape photographs when used carefully.
Recommended equipment
Camera: A camera with manual exposure and RAW capture.
Lens: A wide-angle lens with a fast maximum aperture, such as f/1.4, f/1.8 or f/2.8.
Tripod: A stable tripod to prevent camera movement during long exposures.
Remote release or timer: Helps reduce vibration when the shutter is triggered.
Headlamp: A red-light mode helps preserve night vision.
Spare batteries: Cold temperatures and long sessions can reduce battery life.
Warm clothing: Particularly important during high-altitude night photography.
A wide-angle lens is useful for including both the Milky Way and a landscape foreground. A longer focal length can also work for tighter compositions, but it generally requires shorter exposures to keep stars from appearing as trails.
4. Milky Way Camera Settings: A Starting Point
There is no single setting that works for every camera, lens and sky condition. Start with the values below, then review your test images and adjust exposure, focus and composition.
SettingSuggested starting pointFile formatRAWExposure modeManualApertureWidest practical aperture, often f/1.4–f/2.8Shutter speedStart around 10–20 seconds with a wide-angle lensISOStart around ISO 1600–6400, depending on the camera and conditionsWhite balanceSet a consistent value for easier editing; approximately 3800–4500 K is a starting pointFocusManual focus on a bright star or distant lightStabilizationFollow the camera and lens manufacturer's tripod guidance
These are starting points, not guaranteed optimal settings. Shutter speed depends on focal length, sensor resolution, the direction of the camera and how much star trailing you can accept. ISO depends on the camera's noise performance and the brightness of the sky.
Take a test exposure and inspect the stars at high magnification. If the stars are elongated, shorten the shutter speed or adjust the focal length. If the image is too dark, consider increasing ISO, opening the aperture or lengthening the exposure where appropriate.
5. How to Focus on the Stars
Accurate focus is essential for sharp astrophotography.
Switch to manual focus.
Use live view and magnify a bright star or distant point of light.
Adjust the focus ring slowly until the star appears as small and sharp as possible.
Take a test exposure and zoom in to inspect the stars.
Recheck focus if the lens or camera temperature changes or the equipment is moved.
Do not assume that turning the focus ring all the way to infinity will produce sharp stars. The infinity mark is not always exact, and small focus errors become obvious in a night-sky image.
6. Compose the Milky Way with a Strong Foreground
A compelling nightscape is more than a photograph of stars. A foreground gives the image scale, depth and a sense of place.
Look for mountain ridgelines, rock formations, lakes, trails, traditional architecture or other foreground elements that are safe and appropriate to photograph. Consider how the Milky Way will align with the landscape before the session begins.
Useful composition techniques include:
Leading lines: Guide the viewer's eye toward the sky.
Foreground silhouettes: Use mountain shapes to create a strong visual anchor.
Reflections: Photograph calm water when conditions allow.
Panoramas: Capture a wider section of the sky and landscape.
Vertical compositions: Emphasize the height of the Milky Way above a distinctive foreground.
Scout the location during daylight when possible. At night, use a dim red light and avoid disturbing wildlife or other photographers.
7. Should You Photograph During a New Moon?
A new Moon often provides darker skies, making it a useful period for photographing faint stars and the Milky Way's central region. However, the lunar phase alone does not determine whether a night will be suitable.
Check the Moon's position and illumination for your exact shooting window. A crescent Moon that sets early may leave a useful period of darkness later in the night. Conversely, clouds or distant light pollution can affect image quality even when the Moon is absent.
Moonlight can also be useful creatively. It may illuminate mountains, trails and other foreground elements, producing a different style of nightscape. The best conditions depend on the image you intend to make.
8. Weather, Altitude and Safety in the Andes
High-altitude photography can offer dramatic scenery, but it also requires preparation. Temperatures can drop quickly after sunset, weather can change, and some locations involve rough roads, remote access or strenuous walking.
Before an astrophotography expedition:
Allow time to acclimatize before traveling to high elevations.
Carry suitable warm layers, water and essential personal supplies.
Check local weather and road conditions.
Use a reliable guide or local operator when access or conditions warrant it.
Avoid approaching cliff edges or unfamiliar terrain in darkness.
Protect batteries and equipment from cold, dust and moisture.
Clear skies cannot be guaranteed. Build flexibility into your itinerary when possible, and consider alternative compositions or locations if clouds obscure the galactic center.
9. Advanced Milky Way Photography Techniques
Once you can consistently capture sharp single exposures, consider exploring more advanced techniques.
Image stacking combines multiple exposures to reduce visible noise while retaining detail in the sky.
Panorama stitching creates a wider field of view than a single frame can capture.
Foreground blending combines a sky exposure and a separately captured foreground when the lighting or exposure requirements differ. The process should be performed carefully to maintain realistic transitions.
Star trails use longer total recording times to show the apparent movement of stars across the sky.
These techniques require additional planning and post-processing. For blended images, record how each frame was captured and maintain a consistent composition so the final result looks natural.
10. Photograph the Milky Way in Peru
Peru offers nightscape photographers a range of landscapes, from high Andean peaks and glacial lakes to remote valleys and traditional rural settings. The most suitable location depends on your travel dates, altitude tolerance, access requirements, weather and photographic goals.
A dedicated Peru astrophotography tour can help with route planning, location scouting, lunar timing and landscape composition. An itinerary may combine night-sky sessions with sunrise, blue-hour and daytime landscape photography, depending on the destination and conditions.
Explore our [Peru astrophotography tours], including selected expeditions around Ausangate, Rainbow Mountain and Huayhuash. For a broader South American journey, you can also enquire about our [Atacama Desert and Uyuni Salt Flats photography tour].
Frequently Asked Questions
What is the best camera setting for Milky Way photography?
Start with RAW capture, manual exposure, a wide aperture and a shutter speed of approximately 10–20 seconds. Adjust ISO and exposure after checking focus, star shape and histogram. The best settings depend on your camera, lens, focal length and sky conditions.
Do I need a full-frame camera to photograph the Milky Way?
No. Full-frame cameras can offer useful low-light advantages, but many crop-sensor cameras can produce excellent results with a fast wide-angle lens, accurate focus and appropriate exposure.
Is a new Moon necessary for Milky Way photography?
No, but a darker sky often improves visibility of faint stars and the galactic center. Check moonrise, moonset and the timing of astronomical darkness rather than relying only on the lunar phase.
Can I photograph the Milky Way in Peru?
Yes. Selected locations in the Peruvian Andes can provide opportunities for night-sky photography. Visibility depends on the season, the Milky Way's position, weather, light pollution and access to the location.
Can a photography tour guarantee clear skies?
No responsible operator can guarantee clear skies or a visible Milky Way. A well-planned expedition can improve preparation and location choices, but weather and natural conditions remain outside anyone's control.
Plan Your Astrophotography Trip
Want to photograph the Milky Way above the Andes? Contact Photo Tours Peru to discuss your preferred travel dates, photographic experience, equipment and ideal landscapes.
We can help you explore suitable itineraries and plan an expedition around your astrophotography and landscape photography goals.
[Explore Peru Astrophotography Tours] [Request a Private Photography Itinerary]
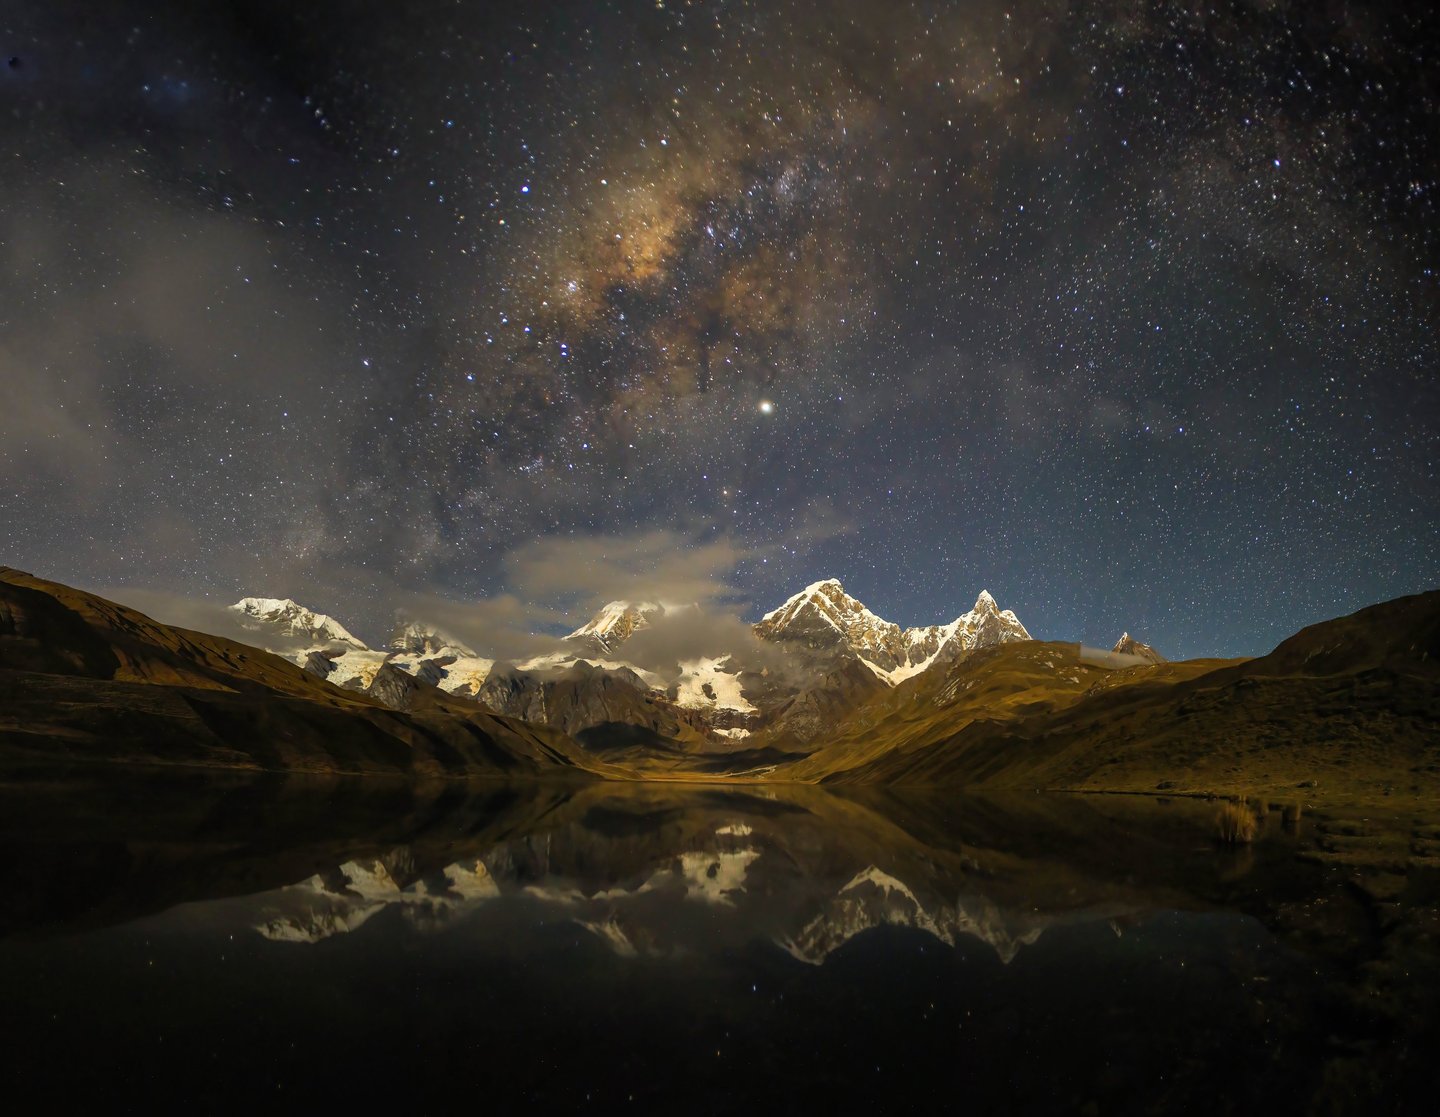
Contact
Email: phototourperu@gmail.com
Phone: +51 940188346
© 2025. All rights reserved.
Designed by Zihna